Thursday, June 27, 2013

Creating Envelope Stickers {decorating envelopes}

Hello, friends:}

Savannah O'Gwynn here, and today I want to show you how to create envelope stickers or decorate envelopes using literally ANY Paper Smooches dies and stamps!!! I also share a "Savannah TRUTH" about decorating the inside of my cards:)


Here's the video:

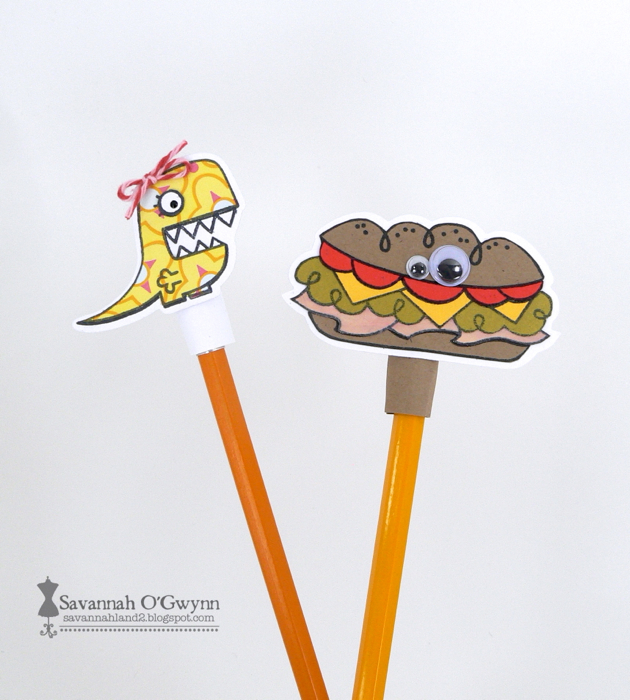
Here's a couple of pictures of different ways to decorate your envelopes:
Decorate your envelopes by stamping right on the front or back.
Decorate your envelopes by creating stickers using just dies.
Or decorate your envelope using stickers that have been paper pieced/colored/etc.

I really hope you will create some coordinating stickers for your envelopes or stamp your Paper Smooches images right on the envelope the next time you need to send a note!!! Please leave a comment below with a link to your project! I'd love to check it out:) 

**And don't forget if you leave a comment, please add your blog address and email so I can visit you too:) love hearing from the VS followers when you've created something based off of one of our videos:) So keep leaving comments and links!!! 

ANNNNNNNNNND speaking of leaving comments-- I am going to start sharing a Virtual Smooches Featured Fan each week! So be sure to leave links to your creations and pictures of your projects using the techniques we share on the VS blog!!! The Featured Fan will receive a badge to place on their blog or sidebar! We will start next week:) 

THANKS so much for stopping by! Be blessed:}

Thursday, June 20, 2013

Creating "Friends" with Savannah O'Gwynn

Hello, friends:}

Savannah O'Gwynn here, and today I want to share how to create some "friends", also known as finger puppets and pencil toppers! These are great for literally ANY Paper Smooches dies and stamps!!! 


Here's the video:

Here's a couple of pictures of my finger puppets and pencil toppers:
Create "friends" using ALL sizes of stamps and dies.
Create simple one-layered "friends" or decorate with lots of details!

Updateduring the video I said that I would take a pic of Trav using his pencil topper (the sandwich)... but he was too busy. So I took a pic of Latifah!!
Update#2: Trav sent me this pic of his little "Friend" at work!! LOVE it! I think he enjoys it too:)
I really hope that you will create some of these "Friends" (finger puppets, pencil toppers, and even as a desk buddy) using your Paper Smooches dies and stamps. Please leave a comment below with a link to your project! I'd love to check it out:) 

**And don't forget if you leave a comment, please add your blog address and email so I can visit you too:) love hearing from the VS followers when you've created something based off of one of our videos:) So keep leaving comments and links!!! 

ANNNNNNNNNND speaking of leaving comments {well, this is kind of a comment}-- I shared a couple of weeks ago {HERE} the youngest Virtual Smooches fan. I was hanging out with his family last week, and the conversation was mostly about my craft videos. So the youngest VS fan's dad (Michael) decided to start watching a video right then and there. He was HOOKED! And then Trav and Jeff started watching the videos! LOL! 
The guys wanted to make signet rings-- this is after watching my Wax Seal video {HERE}! LOL!

Some of you might have seen Michael's comments last week-- too funny! I love when I hear from VS fans!!! 


I hope that you will send me pics of you watching our VS videos, as well as links to your creations using some of our techniques!!! 


THANKS so much for stopping by! Be blessed:}


Thursday, June 13, 2013

2 Virtual Smooches videos with Savannah O'Gwynn

Hello, friends:}

Savannah O'Gwynn here, and today I'm sharing TWO videos!!! **I do apologize in advance for my lighting and movement of my camera! I have no idea what was going on while I was recording! :(


For the first video, I decided to do a revisit for my cross-stamp-stitching technique because I had a couple of emails asking for more information. Here's the video:

Here's a couple of pictures of my nephew's card from the video:
Happy birthday, Eyob!!! 
And then I even stamped on the inside of my card-- nothing fancy... but it's a start:)

I share how to dress up your notebook covers in my second video! I also share that I'm addicted to paper-- and that's where I got my idea for this project! These notebooks are a great gift for just about anyone and for any occasion. And since there are so many Paper Smooches dies and stamps, the possibilities and designs for your notebook cover are endless! LOVE LOVE LOVE! This is a great way to use literally ANY PS die!! 

Here's the video:

Here's a couple of pictures of my notebook covers:
You can also add random coordinating stamps throughout the notebook for extra fun! 

I really hope that you will try creating a new notebook cover or dressing up your notebook cover using Paper Smooches dies and stamps. Please leave a comment below with a link to your project! I'd love to check it out:) 

**And don't forget if you leave a comment, please add your blog address and email so I can visit you too:) love hearing from the VS followers when you've created something based off of one of our videos:) So keep leaving comments and links!!! 


I hope that you will send me pics of you watching our VS videos, as well as links to your creations using some of our techniques!!! 

THANKS so much for stopping by! Be blessed:}


Thursday, June 6, 2013

Regular/Reverse Dry Embossing with Savannah O'Gwynn

Hello, friends:}

Savannah O'Gwynn here, and in today I share two different ways to dry emboss using a chipboard piece created from a Paper Smooches die. These techniques are called Regular Dry Embossing and Reverse Dry Embossing. This is a great technique to use with literally ANY 
PS die!! 

**Pay no attention to my voice at the beginning of the video-- OY! I was really excited:) LOL! 

Here's the video:
Here's a couple of pictures of my dry embossing creations:
Create a regular dry embossed image using a chipboard piece placed on the back of your cardstock.
This card set was created for my husband who works at Walgreen's-- check out the video for my explanation:) 

Create a reverse dry embossed image using a chipboard piece placed on the front of your cardstock.
Paper Smooches stamps: Chart ToppersPaper Smooches dies: Ampersands

I really hope that you will try creating some chipboard die cuts using your Paper Smooches dies-- and I also hope you will try either regular dry embossing or reverse dry embossing on your next creation!!!  Please leave a comment below with a link to your project! I'd love to check it out:) 

**And don't forget if you leave a comment, please add your blog address and email so I can visit you too:) love hearing from the VS followers when you've created something based off of one of our videos:) So keep leaving comments and links!!! 

I hope that you will send me pics of you watching our VS videos, as well as links to your creations using some of our techniques!!! 

THANKS so much for stopping by! Be blessed:}